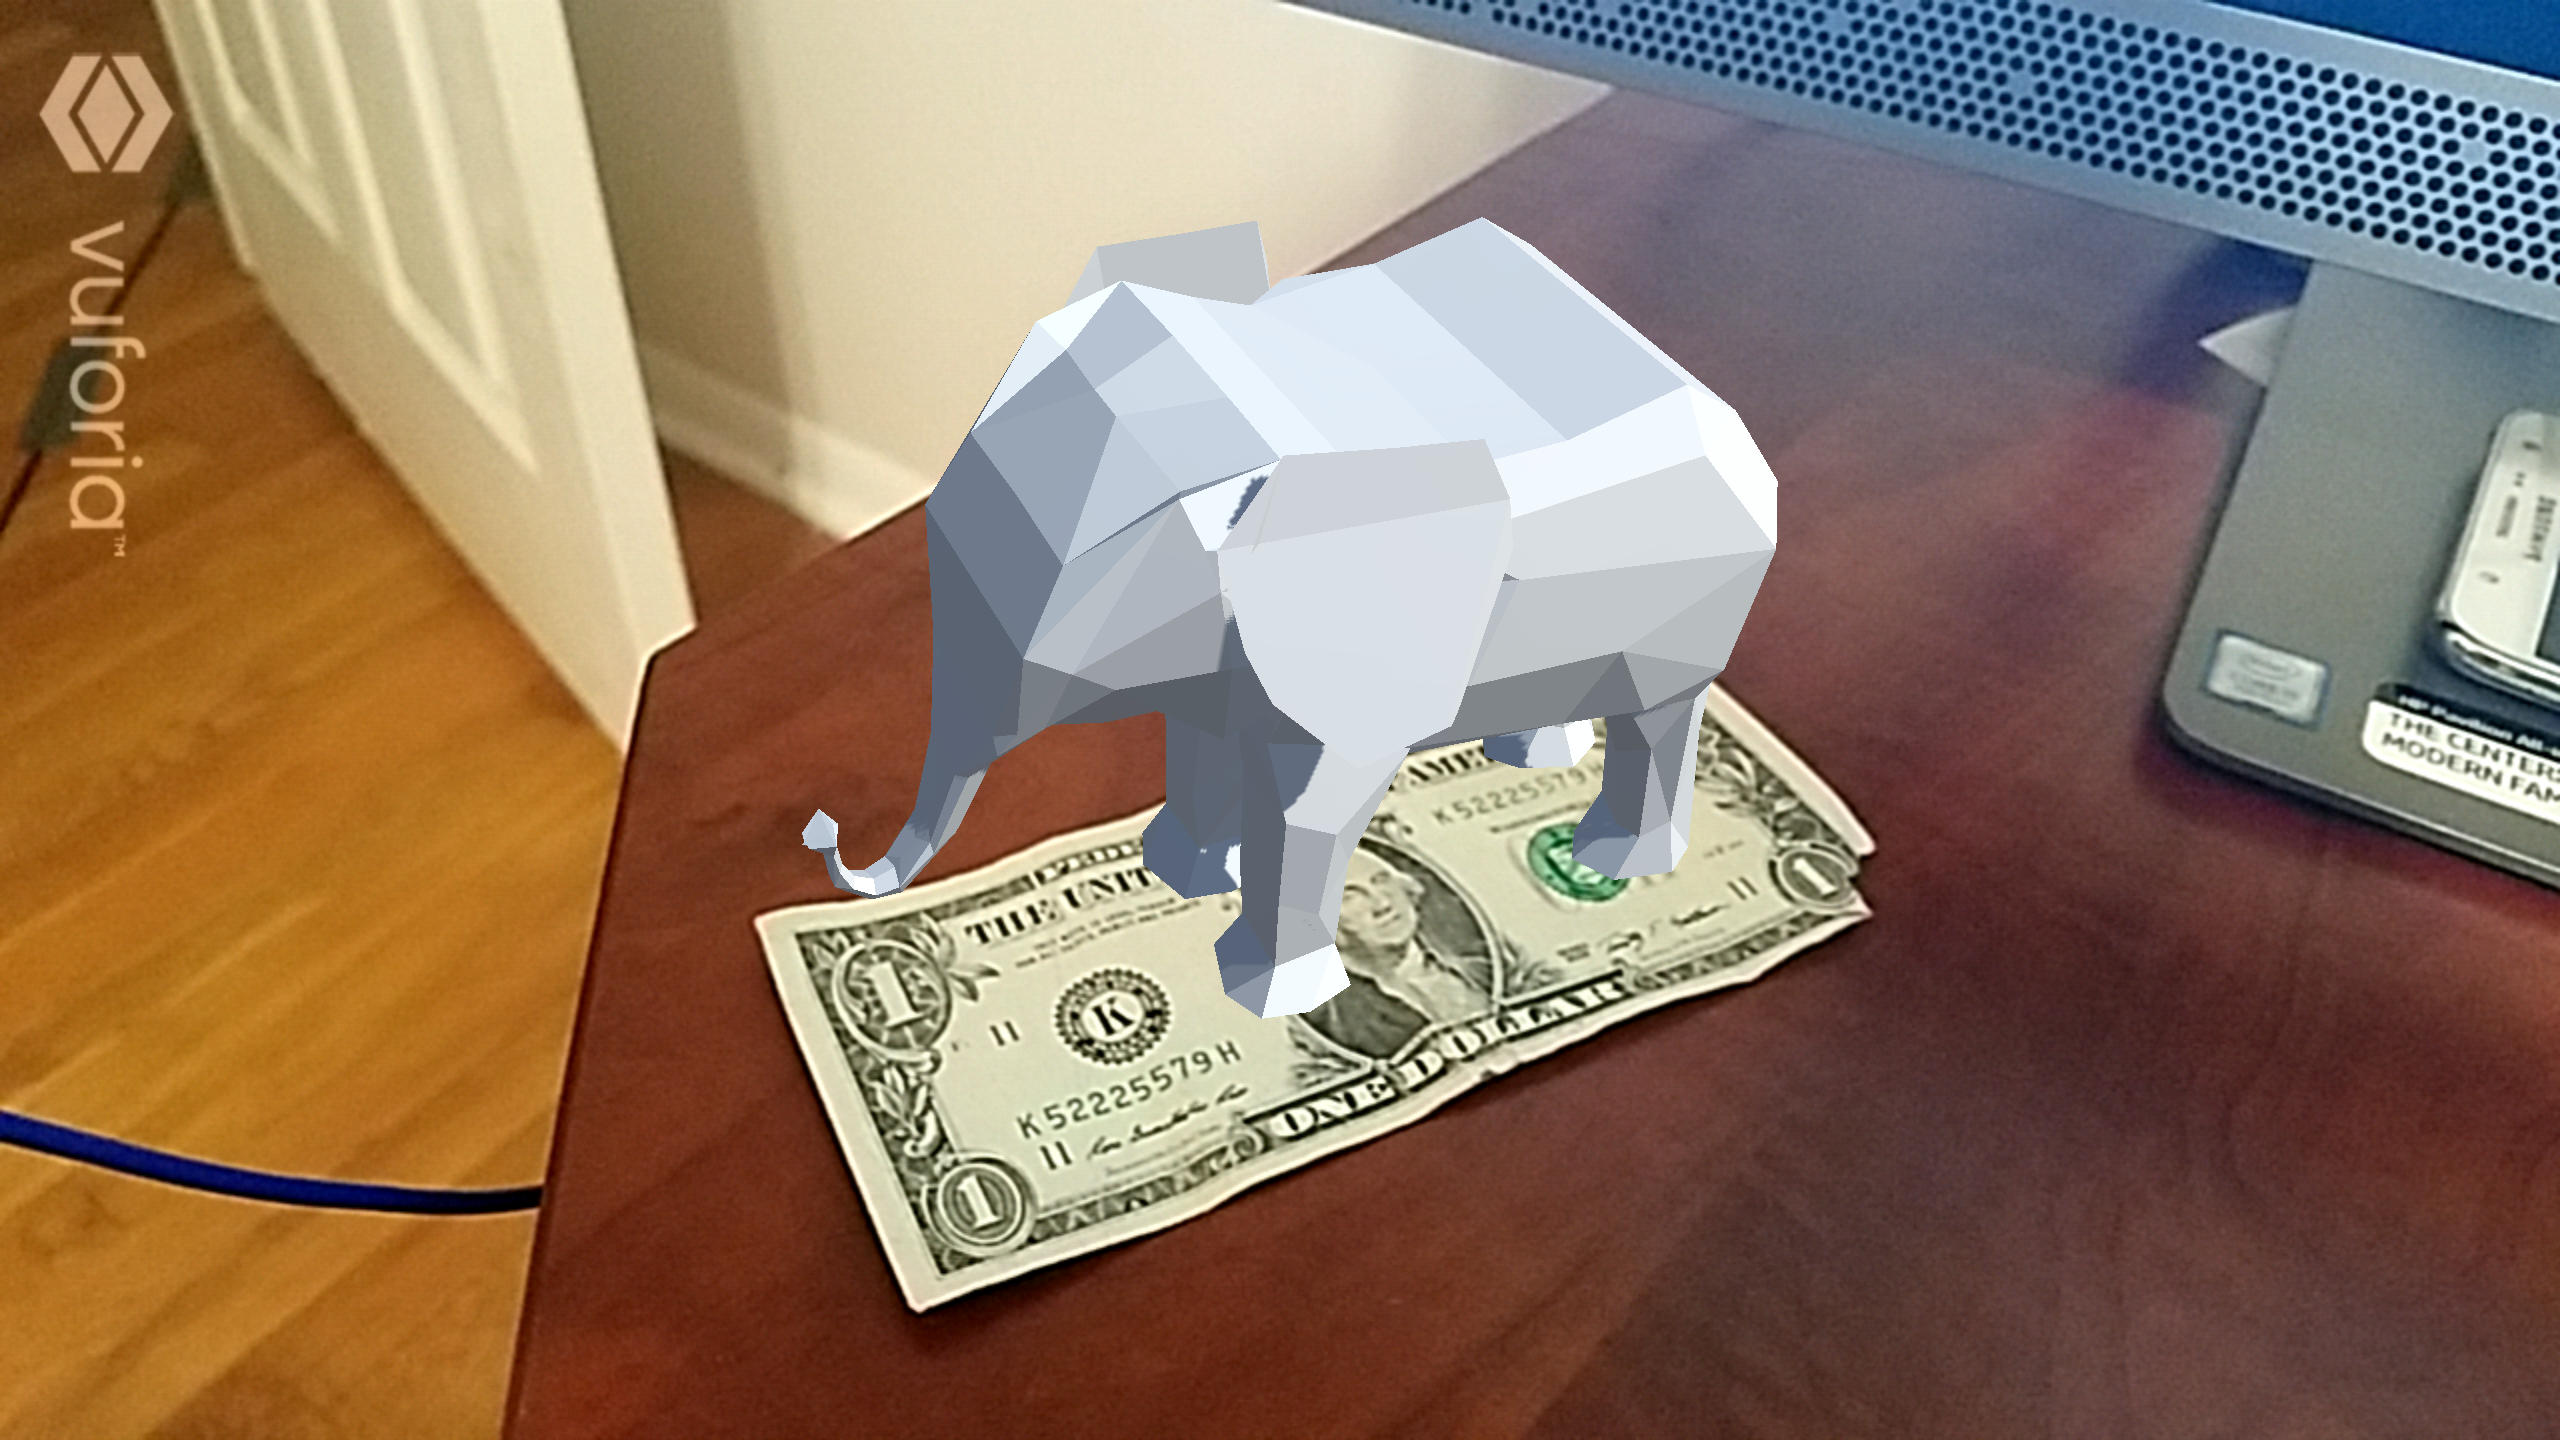
We’ve talked before about how influential augmented reality is going to be in the future. What we didn’t mention is how easy it can be to take part in shaping that future. Over the course of the next two posts we’ll show how to incorporate AR into an app, and when it’s all said and done we’ll be able to look at a virtual elephant in the real world.
It’s not too complicated as far as subject material goes, but there a couple steps involved so we’ll split this into two pieces: gathering our resources and then putting them into action.
Before we do any work though, let’s take a second to discuss the bigger picture of what we’ll be doing here. If you’ve ever experimented with game development, then you’ve probably heard of Unity. If not, then some things in this tutorial may seem a little confusing at first (but far from impossible!). Unity is a development environment where developers can make 2D and 3D games, and we’ll be using it here to host our augmented reality app. Click here to download Unity, and when you do make sure that you include the Android/iOS and Vuforia plugins.
We all know about Android and iOS, but odds are Vuforia is a new name. Vuforia is a popular AR platform that allows us to use image targeting in our apps. Essentially all we have to do is pick a 3D model and an image. Vuforia will then root our 3D model to any images it sees in the real world.
For example, in this app we’ll be using a 3D model of an elephant made with Blender, and the image will be a $1 bill. With this combination, any time our app’s camera finds a dollar bill in the real world, it will place the 3D model on top of it. The result is the title image of this post.
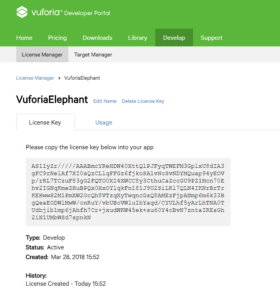
Ok, that’s enough background. Let’s jump into the actual set up. Use the above link to download Unity if you don’t already have it, and then go to developer.Vuforia.com and create an account. After you’ve made an account click on the develop tab and then click to create a new license key. You can name this anything you want, but as you can see in this image I chose “VuforiaElephant” as my name.
After creating the license key you’ll be able to click on it and see a string of random characters representing it. Copy and paste this value; we’ll be using it later in this tutorial. 
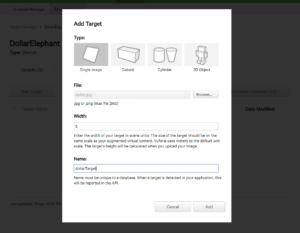
We create this license key so that our app in Unity will be able to connect to our Vuforia account. Now for the second step we’ll need to do create a database inside of Vuforia to hold our dollar bill image. Change your selection from License Manager to Target Manager and then add a new database. I’ve named mine “DollarElephant”. Inside of this database we’ll click “Add Target” to add a new target. Pull any image of a dollar bill from Google images and add it here. Then set it’s width value to 5 and give it a name (dollarTarget is just fine).
When you’re done with this click to download the database, and that’s everything we’ll need to do in Vuforia. Before moving into Unity let’s also get the 3D model of an elephant we want to use. Click here to download the elephant made by sagarkalbande (and feel free to try this out with a different model). Save this file onto your computer and now let’s move into Unity.
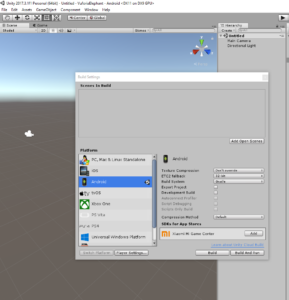
If you’re feeling overwhelmed right now, don’t worry we’re not going to do much else in this first part. For now let’s open Unity and create a new project named “VuforiaElephant”. Go to “File”, then “Build Settings” and select Android as your Platform. After making this change the little Unity cube should appear next to Android.
Finally inside of the Build Settings window click on “Player Settings” and a bar of options will appear on the right side of your screen showing setting options. Open the tab that says “XR Settings” and check the box that adds Vuforia Augmented Reality to our project. Go ahead and import the settings that Unity says it needs to add, and now we’re ready to start the fun stuff.
If you’ve made it this far down the blog, then good work sticking through the dry steps. We created a Vuforia account, made a license key, and selected a dollar bill as our image target. Then we downloaded our elephant 3D model and created a new project in Unity.
So now we just have to make the connection inside of our Unity app between the dollar and the elephant. Stay tuned for the second part of this tutorial in the next few days and we’ll finish out the project so that everyone can have their own virtual elephant! Does app development have you completely lost? Check out Phonlab Android app development classes HERE


Super Fans always leave a comment :-)