Building Your First Augmented Reality App Pt. 2
Welcome to part two of this Augmented Reality tutorial. Now that we’re done with the boring set-up process, we’re ready to dive into Unity and see a final product!
As a quick review, in part 1 you created a Vuforia account and a license key. Then on Vuforia’s website you created a database to hold your image target (the dollar bill) and downloaded that along with our 3D elephant. Finally you downloaded/opened Unity (our game editor) and changed the build settings to Android. Ok, now let’s continue from there:
Setting our Package Name:
Remember how last time we opened “Player Settings” and then the tab that said “XR Settings”? Well there are a few more small things we’ll have to do in this section. Instead of “XR Settings” open up the “Other Settings” tab. Every app that is published on the Google Play Store needs a unique ID so that it doesn’t get mixed up with other apps. So while you may see two apps with the same name, under the hood their ID’s are different. This ID is known as the app’s package name.
In our “Other Settings” tab we’ll write what we want our package name to be. This can be whatever you want, but I’ll use “com.rootjunky.vuforiaelephant”. Now my app has an ID and Unity will be able to run it on any mobile phone. Also go ahead and uncheck the box “Android TV Compatibility”, since this app won’t work on Android TVs.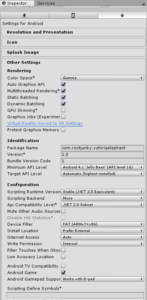
Now to import all of our materials from the first post. In your Unity project you should see a section for the Project hierarchy. This shows all the files/resources in the project, and we’ll be storing everything inside the folder named Assets. We already have our Vuforia files in here, and to get everything else into this folder you can click and drag the following into the Assets folder:
- The Vuforia database you downloaded
- The 3D elephant model
Creating the Scene:
Once all of these assets are together we can begin messing with our scene. Go to “file” then “Save Scene”, and save this scene as main (we can think of scenes as different parts of our game, but we only need one for this project). Now inside of our scene’s hierarchy right click on the Main Camera and delete it. Then click “Create” -> “Vuforia” -> “AR Camera”. This will add Vuforia’s custom camera to our scene that takes care of all image targeting (i.e. recognizing dollar bills).
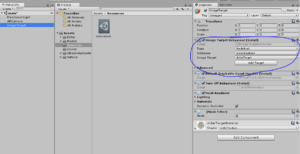
But now that we have the AR camera, we still need to tell it to look for a dollar bill, and to place an elephant on top of that dollar bill once we find it. To do this select “Create” -> “Vuforia” -> “Camera Image” -> “Camera Image Target”. If you click on an object in the scene the right-side tab will show details about it, and selecting the Image Target will display a detail section titles “Image Target Behavior”. In here set Type to “Predefined”, Database to “DollarElephant”, and Image Target to “dollarTarget” (see the following image).
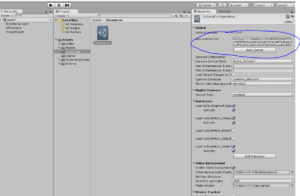
Setting these values connects our database to the image target, so now our camera knows to look for a dollar bill. But in order to use Vuforia we also need to add our license key. Make sure you have this still copied to your clipboard, and then selected the AR Camera in the scene. One of the details you’ll see appear for it is labeled “Vuforia Behaviour”, In here click the Open Vuforia configuration button and then paste in your App License Key. Then in the Databases dropdown check the boxes that say “Load DollarElephant Data” and “Activate”.
Displaying The Elephant:
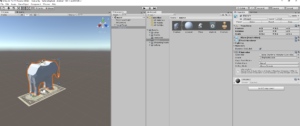
Now for the final step: attaching our elephant. Find the elephant model inside of your Assets folder (most likely named “source” right now). Click and drag this little guy onto your ImageTarget in the Hierarchy tab. This will make the elephant become a “child” of the ImageTarget.
Chances are things look funky though on your screen, and this is because the elephant model is HUGE. Inside of its Inspector tab we can change its position, rotation, and scale, so lets drop its x, y, and z values for scale down to 0.1. Then set the position to 0 for the x and z axis, and 0.5 for the y axis (this just raises the elephant a bit so he’s on top of the dollar).
And that’s it! We’ve attached our Vuforia files to the scene and bound a 3D model to Vuforia’s image target. With just a few steps we’re now ready to see our augmented reality creation come to life. Connect your phone to your computer (make sure it’s USB Debuggable) and then go to File -> Build Settings again. Select “Build and Run”, and your game will download onto the connected device.
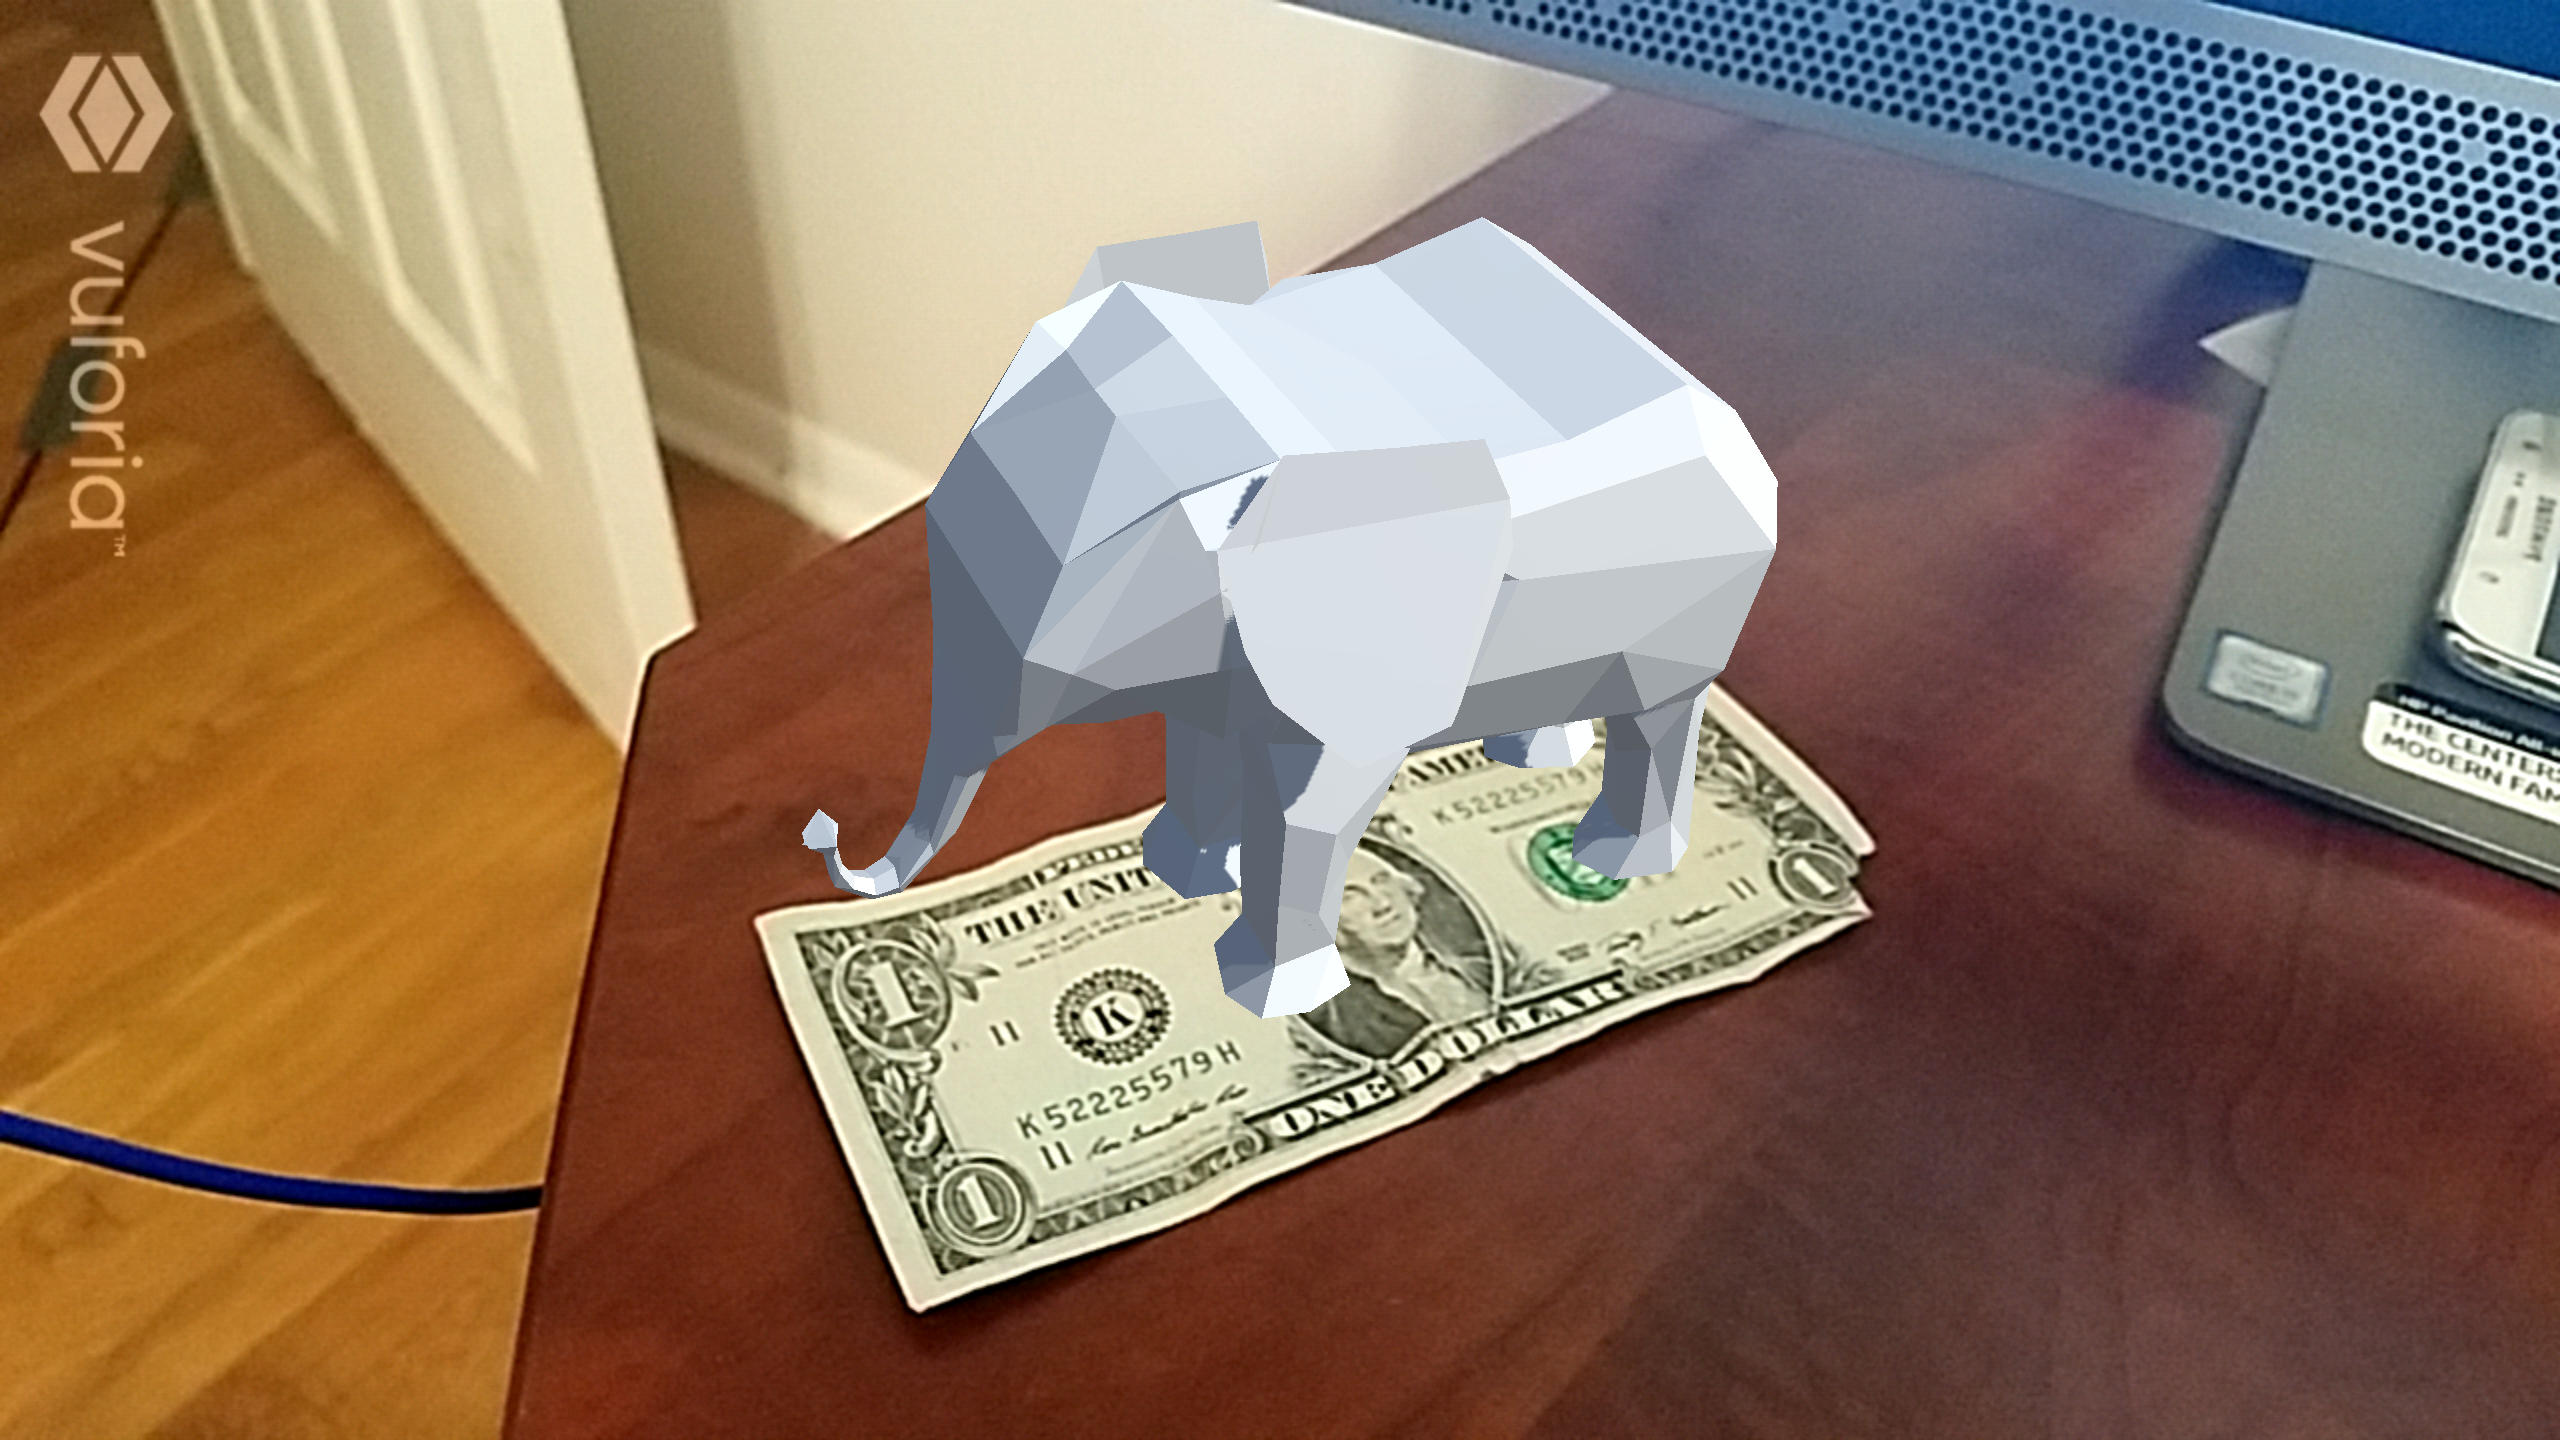
When the app is up and running point it at any dollar bill, and you’ll see a virtual elephant appear on top. What’s even cooler is that if you pick up the dollar and move it around the elephant will stay on top.
Congratulations on sticking through this whole process. It’s very possible you got stuck along the way, and if that’s the case just comment below and I’ll try to help you out. And if you’re interested in learning more about Android development then you can always check out Phonlab’s course HERE.

Love learning new things.